
Here we will show you how to replace a gutter joint. Gutters can leak for a number of reasons and unfortunately, gutter joints do fail from time to time but can be replaced fairly cheaply and easily.
Gutter Expansion
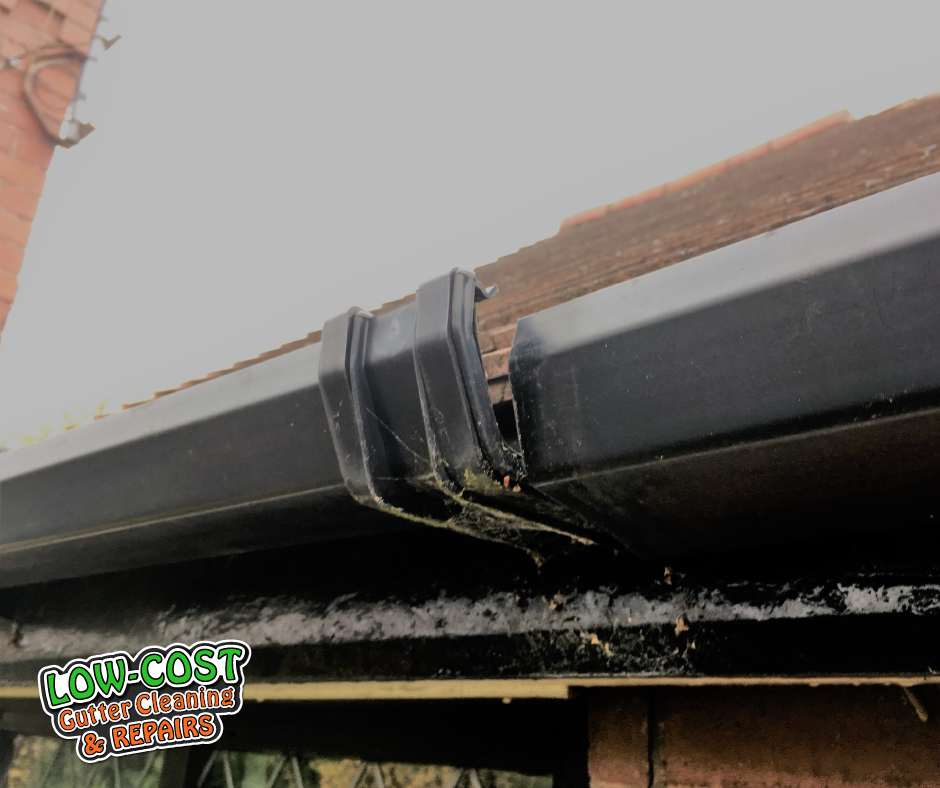
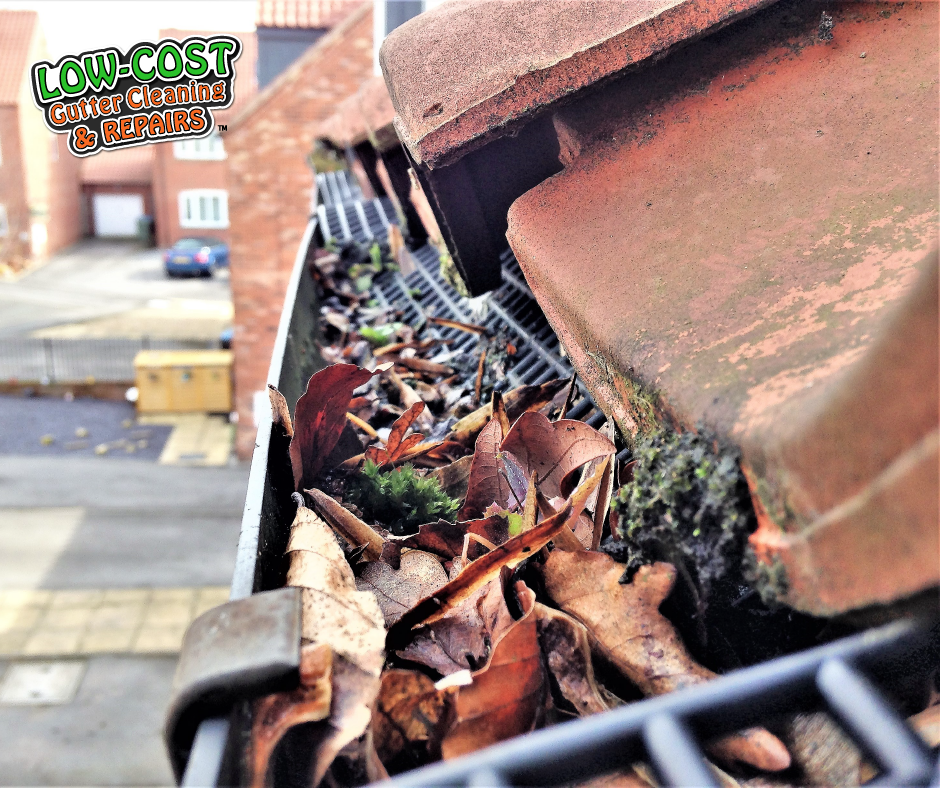
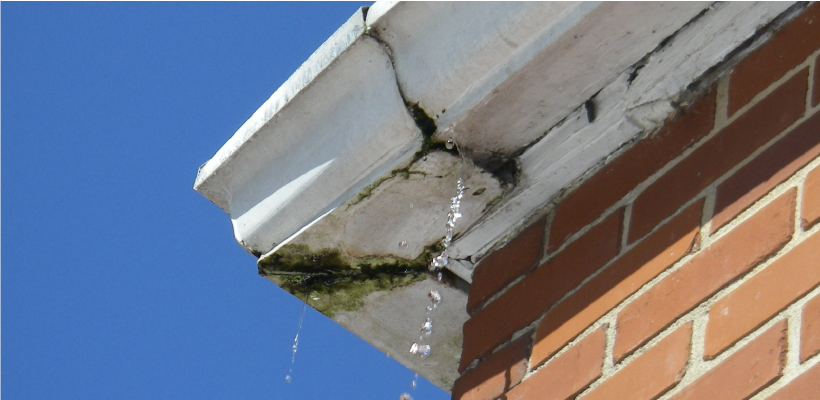
Believe it or not, but plastic gutters are designed to move around. The gutters will contract and expand when they heat up and cool down, sliding along and through the gutter joints and gutter seals. In summer they absorb more heat and are more likely to expand more, and in winter they are more likely to contract. In very hot weather, it is possible to hear the gutters cracking, which is when the gutters are moving around. This movement can cause the gutters to pop apart from gutter joints creating a gap for water to leak. This will require moving the gutter back into place, cleaning the original gutter seals, gutter and joint, but sometimes it is quicker and easier to replace the joint which modern joints are often wider to allow more movement.
WarningYou should not attempt this unless you are competent, have suitable access equipment, tools, and equipment. Working at height can be extremely dangerous. If you would prefer to leave this to the trained experts please Contact Us
How to replace a gutter joint
Step 1
Buy a new gutter joint.
Before you start you will need to select the correct gutter joint to replace the old one. There are many different brands of gutter on the market all with different profiles. Some of the older guttering is imperial while the new guttering tends to be metric which results in a small size difference. Square and half round gutter profiles are the most common and are generally interchangeable between brands, whereas ogee and deep flow gutter profiles will vary from brand to brand and are not usually interchangeable.
Step 2
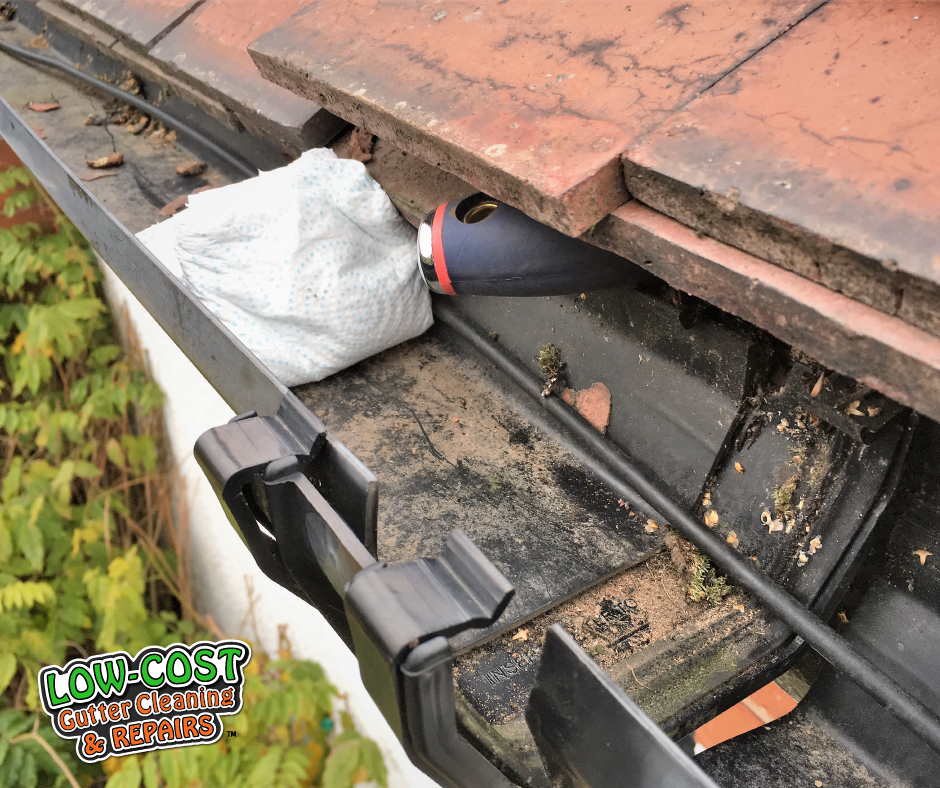
Make some room to work.
The gutter joint you are trying to replace may be restricted by the roof tiles above. You can free up some room to work by using a suitable tool/shim to lift the roof tiles just enough so you can easily get to the gutter joint. If you have concrete tiles you can take out the roof tile just above the joint to allow even better access.
Step 3
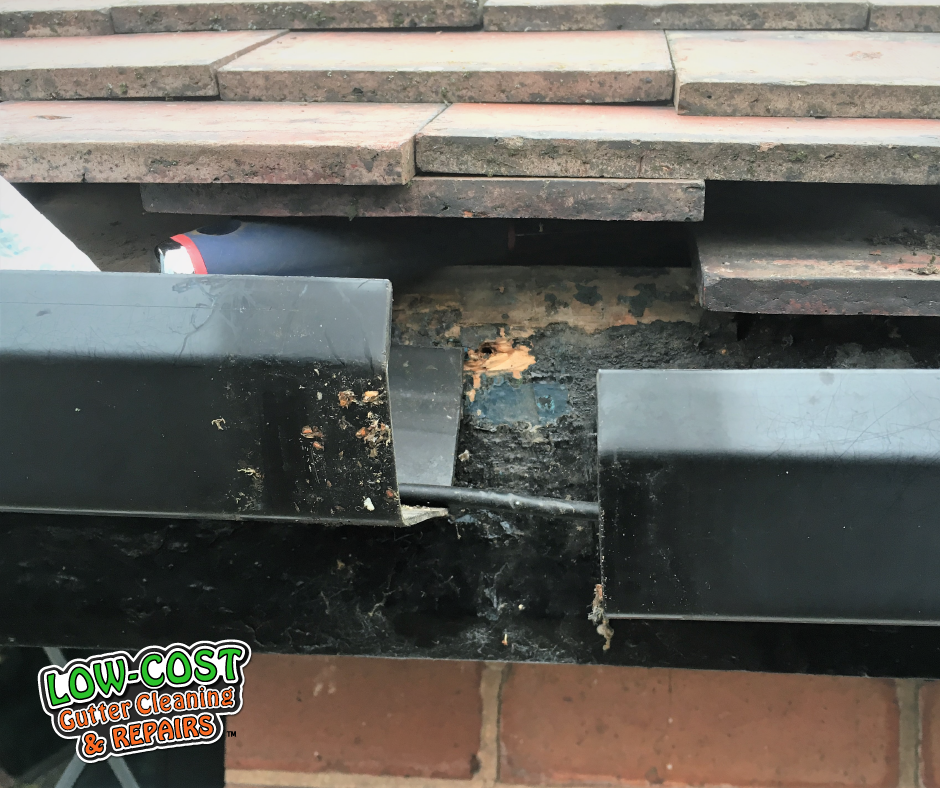
Remove the old gutter joint.
The gutter joint you are trying to replace may be restricted by the roof tiles above. You can free up some room to work by using a suitable tool/shim to lift the roof tiles just enough so you can easily get to the gutter joint. If you have concrete tiles you can take out the roof tile just above the joint to allow even better access.
Step 4
Prepare the gutters.
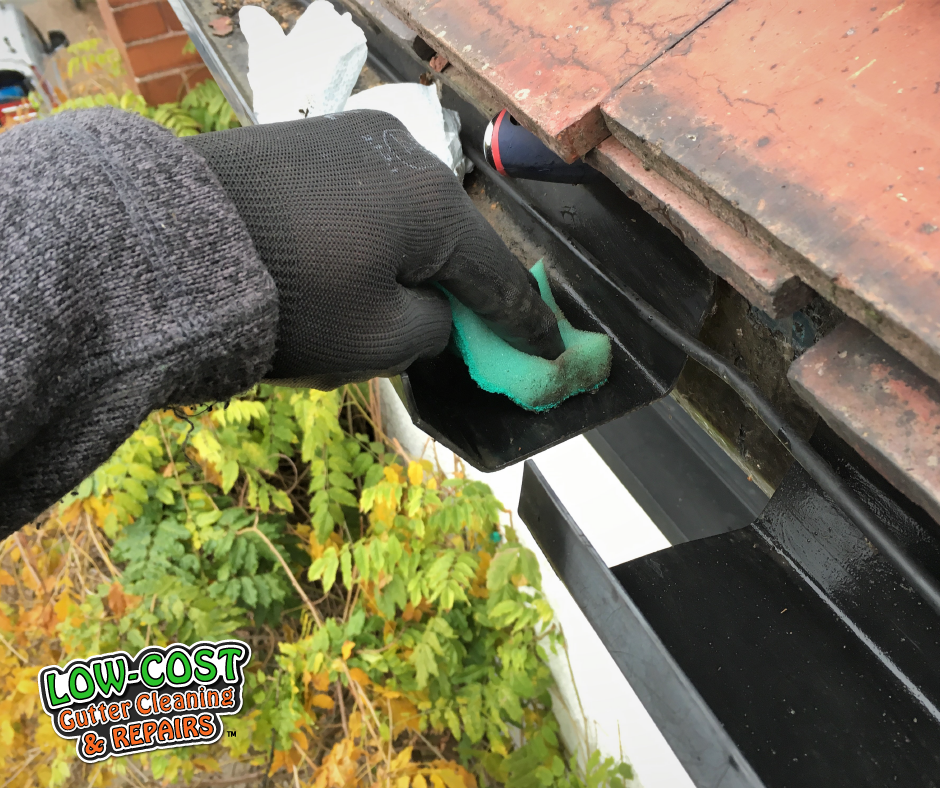
To prepare the gutter for a new gutter joint, use a solvent based cleaning solution to clean the interior and exterior surfaces of the gutter to remove any dirt and to allow the new seal to grip the gutter perfectly. Make sure you clean 2-3 inches in from the edge of the gutter on both pieces of gutter.
Step 5
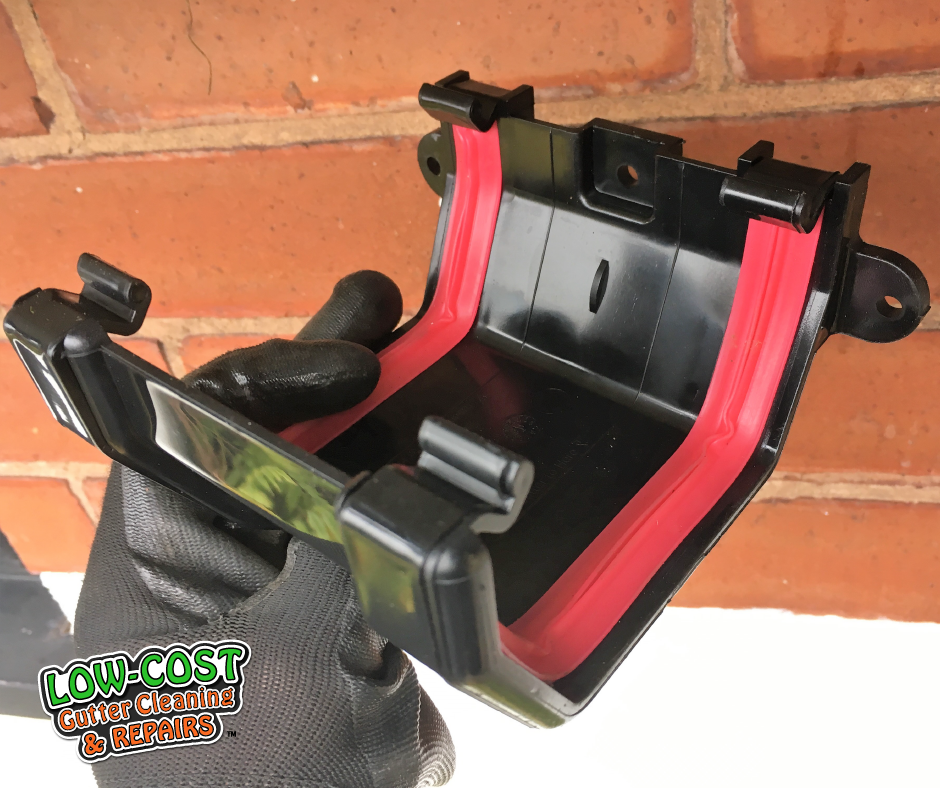
Attach the new gutter joint.
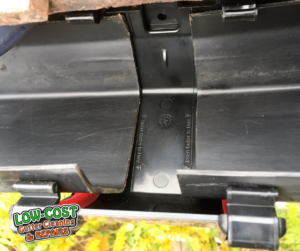
After the gutter has been cleaned, attach the new gutter joint to the gutter by clipping the back edges in first. Rotating each gutter forwards slightly will help with this. Make sure the gutter is positioned to the guide marks on the gutter joint. Once in position, ensure the seals are located correctly and push the front clips into position.
Step 6
Secure the gutter joint.
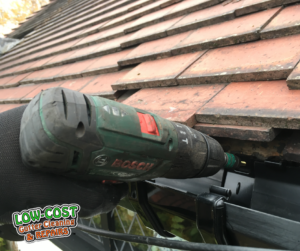
To ensure the gutter joint is secure and does not sag down when it is full of water, secure it to the fascia board with a screw which is usually located at the top and/or sides of the gutter union joint. Use a suitable screw which won’t rust to ensure it can be removed in the future should you need to.


